Digital Banking has a great array of options at your disposal in online banking. Many of those features you may have never seen before. In the following sections, we hope to guide you through Digital Banking and all its amazing services.
This section is only for customers who have never used Mutual Federal online banking and are enrolling in Digital Banking for the very first time. If you've used our online banking previously, there is no need to enroll again.
You only need to enroll Mutual Federal Digital Banking on one device. After you enroll, you can log in to your account from any device.
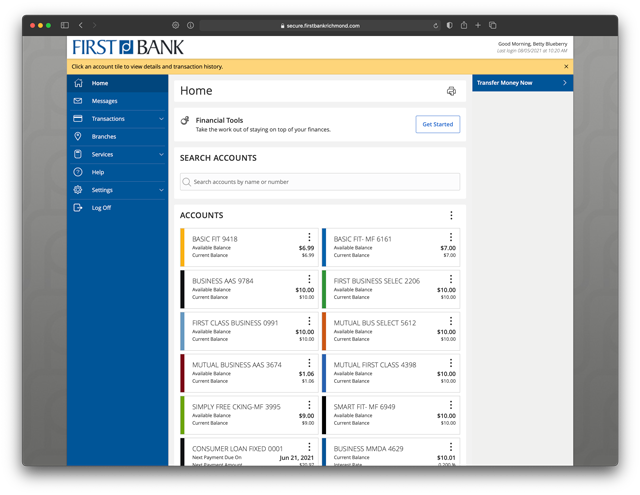
Use the following steps to log in to Digital Banking.
Log in using your username and password.
Select how you'd like to receive a secure access code (six digits). You can choose text, email, or call depending on the information we have on file for you. Notice incorrect information? Please call your local branch!
Enter the 6-digit access code you received.
Review your profile information (if logging in the first time).
Choose to register your device or not. (If you're on a shared device or shared network, we suggest not registering the device.)
Lastly, you'll review the first time disclaimer (if logging in the first time), approve it and you'll be taken to your Digital Banking homepage.
Note: If you have set up your browser to clear your browser's cookies and cache, you will be required to receive a new secure access code each time you visit. (2-step verification)
Search for "Mutual Federal Digital Banking" in the respective store or use one of the links below (from your phone or tablet).


From your desktop, use the camera on your phone or tablet with one of these QR codes.
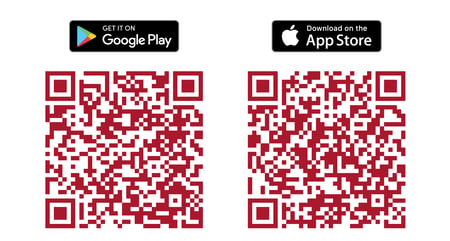
Look for the stylized Mutual Federal icon!
![]()
Logging in to the Mutual Federal Digital Banking app works very much like logging in to the desktop. But the app will offer a few additional login options, once set up. (See Mobile Login Options section, below.)
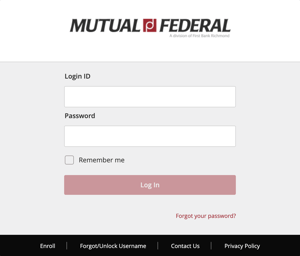
Login using your username and password.
Select how you'd like to receive a secure access code (six digits). You can choose text, email, or call depending on the information we have on file for you. Notice incorrect information? Please call your local branch!
Enter the 6-digit access code you received.
Review your profile information (if logging in the first time).
Choose to register your device or not. (If you're on a shared device or shared network, we suggest not registering the device.)
Lastly, you'll review the first time disclaimer (if logging in the first time), approve it and you'll be taken to your Digital Banking homepage.
Depending on your device, you might see an option for "Face ID", "Touch ID", or "Fingerprint", on the mobile app login screen. Touch this link if you want to setup a biometric login option.
You can setup a 4-digit passcode to conveniently bypass the normal username/password login. Touch the passcode link on the mobile app login screen to set it up. *This option is only recommended if you also use the lock feature on your device.
No need to stop by in-person to open your personal deposit accounts, you can now open them online in a matter of minutes.
Earning cashback on your everyday purchases has never been easier.
1) Discover
Login to online banking and navigate to CashBack+. Browse special cashback offers from hundreds of your favorite brands once you enter the experience.
2) Buy
Buy a digital gift card for your shopping trip with funds from your checking / savings account and cashback is instantly added to your balance.
3) Redeem & Repeat
Use CashBack+ every time you shop to build your balance. Redeem your CashBack+ balance whenever you like for extra cash.
*Paying people can be handled seamlessly by using Mutual Federal’s People Pay. Sending payment via People Pay using your mobile device is a fast, convenient, and secure method.
You Can Use People Pay to:
Here's How It Works:
Sending Money
You can send money to almost anyone with an email address or a mobile number. The person will receive a notification with instructions on how to claim the money.
Receiving Money
You can do this two ways:
Transfers Happen Fast!
Certain transfers you make using People Pay can happen in real-time, instantly. If your transfer can't be processed immediately, it will generally process between one and three business days.
Using People Pay is Free!
Manage your finances better by setting up accounts within Digital Banking for specific savings goals you want to set for yourself.
Very flexible. No limit on the amount of GOAL accounts you set up. No minimum balances or time restrictions.
Use it to “earmark” money you want to apply toward big ticket purchases, monthly bills, college expenses, holiday spending and vacations. Then watch the progress bar to know you're on-track!
Create, fund and manage your personal savings goals.
Set up your goals from any device.
Look for the GOALS section in Digital Banking. Select one of the goal suggestions or start building one from scratch.

It only takes a few minutes.
Apply and monitor your debit card information across all your favorite subscriptions and digital point of sale services in a single workflow. CardSwap allows you to update all your favorite digital services, like Netflix, Amazon, and more* in one convenient place, using one payment method. This makes it easier to replace lost cards, or to open and use new accounts.
Q: How does CardSwap work?
Enter your Mutual Federal card information once, enter login credentials for your subscription services, and the new preferred payment information is automatically tested and applied in real time. It takes only 24 hours for these updates to be made across services.
Q: Does Select CardSwap work for both debit cards and credit cards?
Yes.
Q: What are some of the companies that you can swap payment methods?*
*None of the listed companies are associated with, sponsor, or endorse this product.
With Mutual Federal’s Bill Pay you are able to pay your bills in just a few clicks, saving time and postage. In addition, you can set up recurring payments for monthly bills. Once your list of payees is set up, you will be able to:
An all-in-one tool to view your finances!
We are committed to helping you achieve your financial goals and providing exceptional financial experiences. We are constantly seeking ways to enhance our services to better support you.
We are excited to introduce a new feature designed to help you monitor and manage your financial accounts more effectively. Our personal finance dashboard offers a consolidated view of all your financial accounts, allowing you to plan for your needs with ease. Securely accessible from both your desktop and mobile phone, this dashboard serves as a one-stop hub for making informed financial decisions.
Would you like to set up your own personal financial dashboard?
With this feature, you no longer need to juggle multiple online accounts across various banks and credit cards. Now, you can link them together versus viewing each in separate dashboards requiring different log-in credentials. You can create and review unlimited budgets, track your spending over time, and calculate your net worth by aggregating all your financial accounts into one convenient dashboard.
Take control of your personal finances today!
Set up your Personal Financial Management Dashboard from any device, within Digital Banking.
1) Click Get Started.

2) Read through information. Click Continue.

3) Click on Terms and Conditions and read. Check box to accept. Click Get Started.

4) Enrollment is complete.

5) Click Link Account to begin the External Account Linking process.
It only takes a few minutes.
Get organized today!
Card Control is a debit card management and fraud mitigation tool for Mutual Federal debit cardholders. Rest assured, you can manage your debit card usage by defining when, where, and how your card is used. You can also turn your debit card on or off at any time.
Card Control is a companion app and can be accessed through your mobile device. In addition, Card Control has features to help you control your debit card such as setting limits on a variety of activities.
INFO AND ENROLLMENT INSTRUCTIONS
Some of the key benefits include:
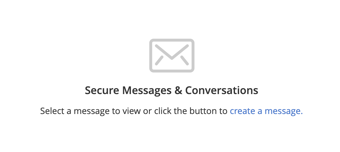
The ‘Secure Messaging’ feature is a secure messaging function which allows for two-way communication between the Digital Banking user and First Bank. The message is delivered securely within the Digital Banking system and not via email.
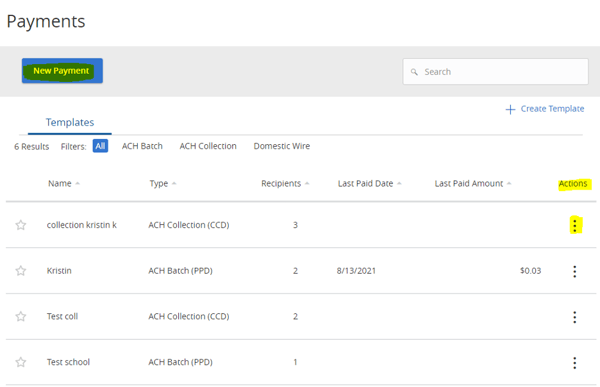
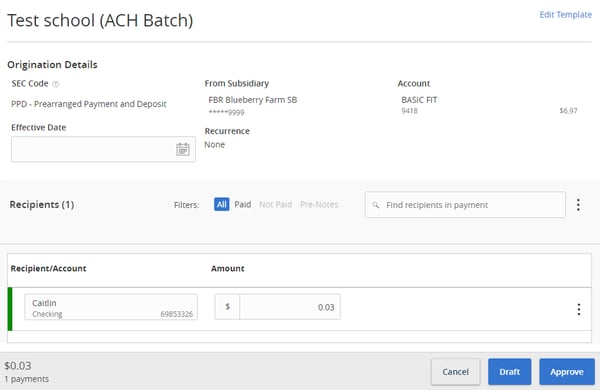
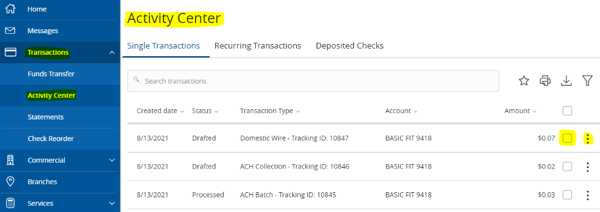
If you need to approve a transaction, it will be in your Activity Center.
(fee may be applied)


If you need to approve a transaction, it will be in your Activity Center.


In this section, you can find out about:
The ACH Authorization Rules page displays a listing of all transaction rules and allows users to set up, edit, and delete ACH authorization rules. ACH Authorization Rules are rules for transactions that are allowed to post to the account. Any transactions that do not match one of the ACH Authorization Rules will post to the account, but an exception will be created. Any transactions that match the rule will post to the account without creating an exception.
Example: ABC Company begins buying products from XYZ Incorporated on a recurring basis. The contract agrees that all future payments will be made via ACH from Company ID 12345. Since this is an authorized transaction, ABC Company will build an ACH Authorization Rule allowing debits from Company ID 12345 to post to account. A specific transaction amount can be included as part of the rule as well.
*Note: You MUST have at least one ACH authorization rule or ACH filter/block built for the system to begin processing exceptions.


The ACH Transactions Filters/Block page displays a listing of all filters/block rules and allows users to set up, edit, and delete transaction filters and blocks. The Transaction Filters/Block Rules are rules for transactions that are NOT allowed on the account. Any transactions that match a Filter/Block Rule will post to the account but will create an exception. Any transactions that do not match a Filter/Block Rule will post to the account without creating an exception.
Example: ABC Company does not do any business over the internet or phone. Therefore, they do not want any transactions with a WEB or TEL SEC code to clear the account. This will cause all WEB and TEL codes to create exceptions that will need to be decisioned by a user.


Exception Items will be made available from 7:30am to 11:30 am Eastern Time. If a decision is not applied by 11:30am ET, the default decision listed in the positive pay agreement will apply to the exception transaction. Users are encouraged to set up email alerts when there are transactions to decision.


Rules can be created based off exception items. These would be transactions that have created an exception but are normal business transactions that may post again in the future. Instead of manually entering the rule, the system will create the rule for you.


You should be able to use any modern browser to enjoy a full desktop banking experience with Mutual Federal Digital Banking.
If you are using Internet Explorer, we strongly urge you to seek a new alternative. IE will soon be retired by Microsoft and does not support many of the features and functions of the modern Web. Chrome, Firefox, Edge and Safari (Mac) are all easily recommended.
Although our new online banking platform will basically work in a mobile browser, we urge you to seek out our actual mobile app instead. There are some features that are specific to the app, and your experience will generally be better using the app on your mobile device.


For desktop, we recommend Microsoft Windows 10 or Mac OS X 10.10, as minimums.
For mobile, ensure that you are using Android 5.x and later or iOS 12.x and later for best performance and security.


121 S. Ohio Avenue
Sidney, OH 45365
Routing Number: 274970791